Having yellow or discolored teeth can be embarrassing and make you self-conscious about smiling. While professional teeth whitening is an option, Photoshop offers a quick and easy way to digitally whiten your teeth in photos. Here’s an in-depth look at techniques for making your teeth pearly white in Photoshop.
What causes yellow teeth?
Before learning how to digitally whiten teeth, it helps to understand what causes yellowing and discoloration in the first place. There are several common culprits:
Enamel thinning
The enamel is the outer protective layer of the tooth. As we age, this enamel naturally starts to thin, allowing the yellowy dentin underneath to show through more. This makes teeth appear more yellow and dull.
Food and drink stains
Certain foods and drinks are notorious for staining teeth. Coffee, tea, red wine, and sodas contain deep coloring pigments. Berries, tomato sauce, curry, and soy sauce also contribute over time. Even healthy foods like carrots can stain.
Smoking
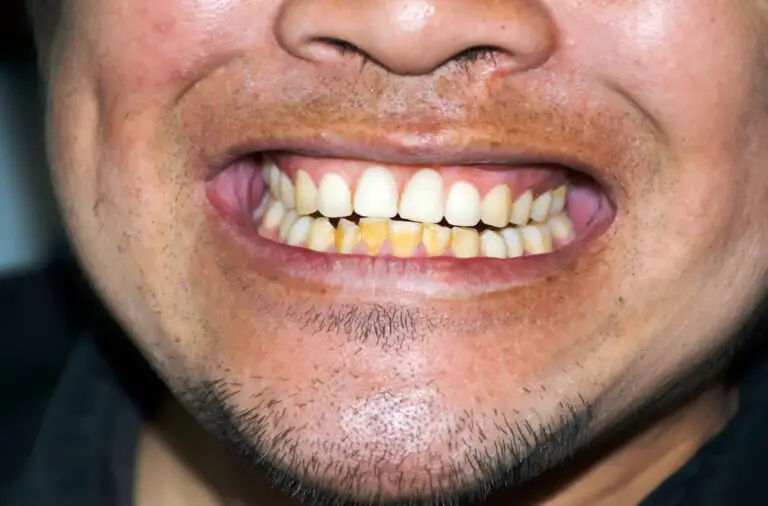
Tobacco smoke is extremely staining. The tar and nicotine adhere to teeth and get trapped along the gum line and in cracks. Smokers usually have noticeable yellow-brown teeth discoloration.
Medications
Some prescription medicines like tetracycline antibiotics can alter the color of teeth, especially in children whose teeth are still developing. Chemotherapy drugs are another culprit.
Dry mouth
A chronic dry mouth allows more bacteria to grow, which produces tooth-staining acids. Medical conditions like Sjogren’s syndrome can cause insufficient saliva.
Genetic factors
Some people are just born with thinner enamel or smaller teeth which show more of the yellow dentin shade. Ethnicity also plays a role, with some Asians more prone to yellowish enamel.
Fluorosis
Consuming excessive fluoride during childhood can lead to fluorosis, causing white specks and streaks in tooth enamel.
Trauma
Injuries to teeth can damage the enamel and dentin layers, resulting in discoloration, especially if the nerve is affected.
Aging
As we age, the outer enamel naturally thins and the yellowish inner dentin becomes more visible. Teeth also accumulate more stains over decades. The combination makes teeth appear more yellow.
Evaluating your tooth discoloration
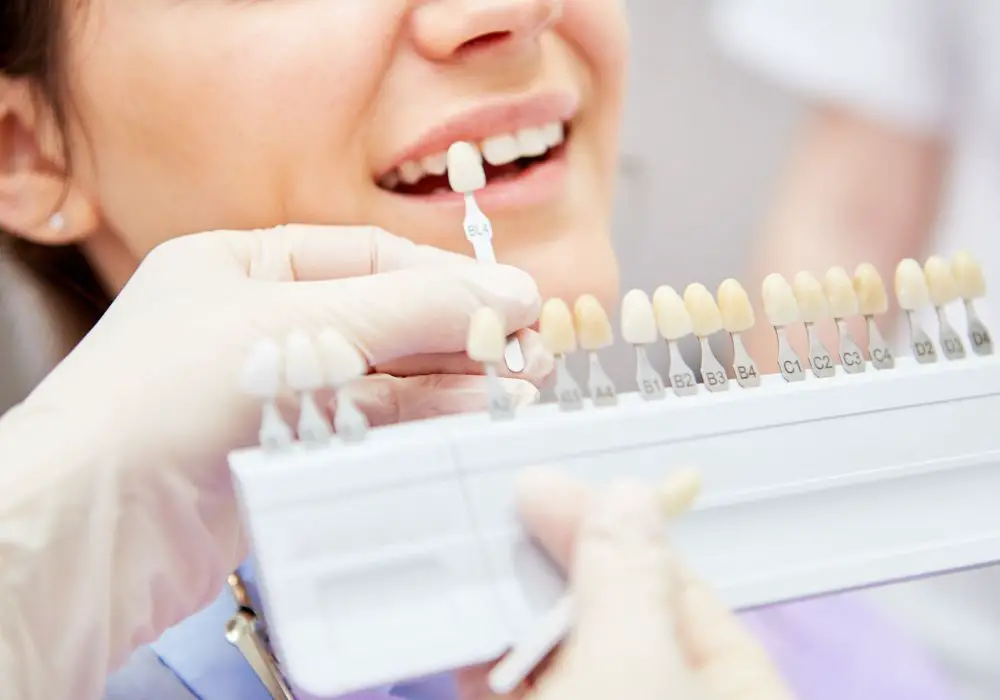
Once you understand potential causes, take a close look at your teeth condition. Grab a hand mirror and go into natural sunlight if possible. Compare your teeth color to a white piece of paper.
Do you notice a yellow, brownish, or grayish cast? Are some teeth more discolored than others? Are stains concentrated in certain areas like along the gum line?
Look for these common issues:
- Dark grey or black spots indicating cavities or decay
- Yellow-brown tobacco stains usually worst near the gum line
- Chalky white spots signifying fluorosis damage
- Web-like gray lines suggesting cracked enamel
- General yellowing all over the tooth surface
Make notes on the specific discoloration qualities to help guide the digital whitening process.
How to whiten teeth in Photoshop
Armed with an assessment of your teeth’s condition, you can now start virtually whitening them in Photoshop. The basic process involves:
- Selecting the teeth area
- Reducing yellow/orange saturation
- Lightening and brightening the teeth
- Sharpening for added definition
- Fine-tuning color balance for naturalness
Let’s go through each step in greater detail.
Isolate the teeth area
The first vital step is to select only the teeth area. This keeps changes isolated just to the desired teeth. There are several good selection tools:
- Lasso tool – Manually trace a selection around the teeth. Take your time for accuracy.
- Magic Wand – Click on a tooth to auto-select similar shades. Tweak tolerance as needed.
- Quick Selection – “Paint” this tool over teeth to auto-generate a selection area.
- Color Range – Select a yellowish tooth color to auto-find similar shades.
Refine the selection edge with Select and Mask. Here you can carefully tune the mask following the gums and gaps between teeth.
Contract the selection by a pixel or two so adjustments don’t spill onto gums.
Reduce yellow/orange saturation
With teeth isolated, create a Hue/Saturation adjustment layer. Lowering Saturation by -10 to -40 removes yellowness and orange cast from teeth.
Use the layer mask to finetune saturation only to the teeth. Change the mask to black over gums and lips so they remain fully saturated.
You can also desaturate specific color ranges that represent yellows/browns on the teeth.
Lighten and brighten teeth
Removing the color cast is a good start, but you still need to actively brighten the teeth.
Add a Levels or Curves adjustment layer to lighten and add contrast. Adjust the channel sliders to target the right luminance ranges.
You can also paint with Dodge and Burn tools to selectively lighten and darken parts of the teeth. Use this to equalize uneven shading and stains.
Keep decreasing the Fill amount on the layers to subtly build up the whitening effect.
Sharpen teeth
Sharpening gives teeth added clarity and crispness. But avoid over-sharpening which looks artificial.
Try the high-pass filter technique:
- High-pass filter a copy of the teeth layer.
- Set that layer to Overlay blend mode.
- Lower Fill to blend it subtly.
This sharpens just the edges while retaining tooth texture.
Color balance for naturalness
One last step is to fine-tune the color balance for the most natural result:
- Sample colors from the gums and mouth to color match.
- Soften edges between teeth for a seamless transition.
- Give teeth slight yellowish or bluish tones so they aren’t chalk white.
- Reintroduce slight stains along the gumline or cracks for realism.
FQAs
Here are answers to some frequently asked questions:
How can I whiten teeth in Lightroom?
Lightroom has the Teeth Whitening preset under Presets. You can also use the Adjustment Brush to paint over teeth while increasing Exposure, Contrast, and Texture. Just take care not to overdo it.
What about whitening teeth in Photoshop Elements?
Elements lacks adjustment layers, but you can still lighten teeth with Levels and Curves applied directly on a duplicate image layer. Use the Magic Wand for quick selections. Also try the Whiten Teeth filter under Enhance > Photo Effects.
Is there an automatic one click teeth whitening tool?
Yes, AI-powered tools like ImagenAI Teeth Whitening detect and whiten teeth automatically with one click. The AI intelligently analyzes teeth color and shape for more targeted subtle improvements.
Can you ruin or damage teeth by whitening in Photoshop?
No, Photoshop teeth whitening is only manipulating pixels in images. It cannot affect the physical structure or health of your actual teeth. Feel free to whiten them extensively for photos without worry.
How much does professional teeth whitening cost?
Professionally bleaching by a dentist costs $500-$1000. It requires custom fitted trays, strong whitening gels, and repeat visits. For much cheaper, you can instantly whiten teeth yourself using Photoshop.
So in summary, while Photoshop can’t change real life tooth color, you can easily make teeth pearly white again in photos. With the right techniques, you can realistically remove years of discoloration and stains.