Do you remember the first time you got a dental flipper? That excitement to have finally found a solution for your missing teeth? These dental flippers must have served you well!
But now, as time has passed, you must be thinking about a more permanent solution. Or maybe you just want to live a life without dental flippers. In any case, knowing how to remove a dental flipper can do wonders!
In today’s post, we will discuss the complete step-by-step method. We’ll also talk about dealing with complications, cleaning tips, and much more. Let’s get started!
Are Dental Flippers Removable?
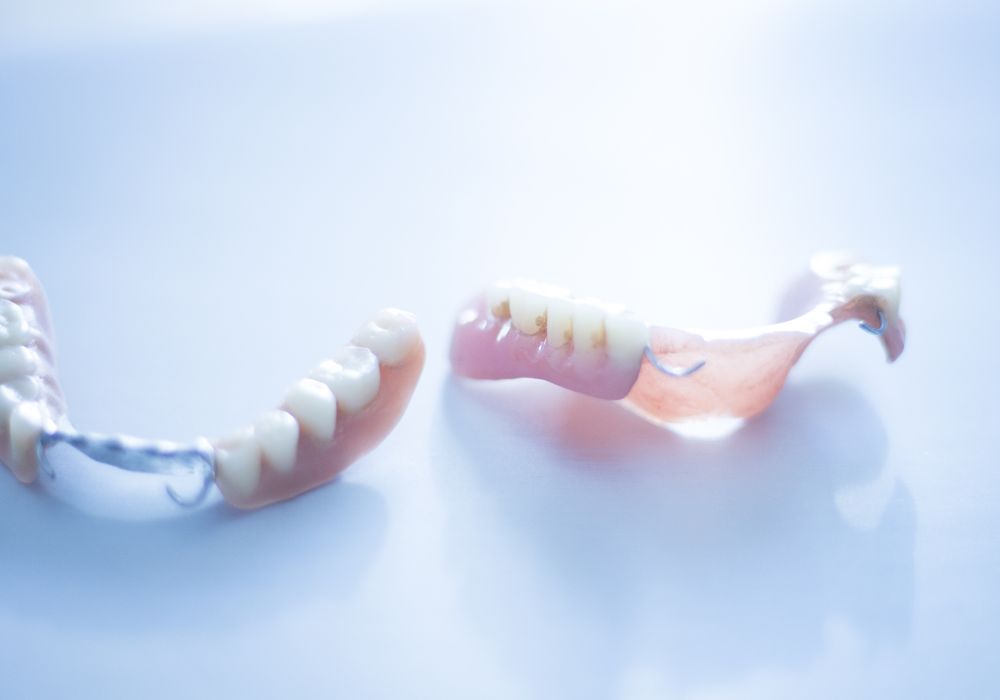
Yes, dental flippers are 100% removable. They are basically artificial teeth and gums designed to replace your missing teeth. Sometimes, the flipper may only have one prosthetic tooth.
Typically, the dentist will first take the impression of your mouth on a putty-like material. It will be kept between your teeth, and you will be asked to bite it as hard as possible. After 10 to 15 minutes, the dentist will take it out and send it to the dental lab technician.
This helps create a custom dental flipper for your mouth. It will have the same shape, color, and size as your natural teeth and gums. However, please note that the material may be different.
Most dental flippers have an acrylic base that fits against the upper or low gums. The attached teeth may be acrylic or porcelain, depending on how realistic you want the teeth to look and what your budget is.
All of this is designed to fit like a retainer. But if there are multiple teeth on the flipper, it can be secured to your surrounding natural tooth using metal clasps. Sometimes the dentist may also use an adhesive.
When Should You Wear Dental Flippers?
Also called partial dentures, dental flippers are recommended in specific situations, where a temporary solution is needed to replace the missing teeth. These include:
1. Post-Extraction Healing
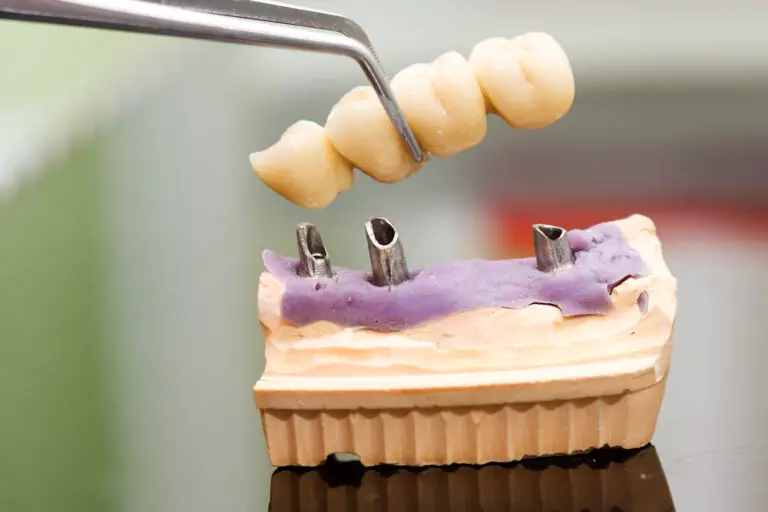
When your tooth is decayed beyond repair, the dentist will extract it and suggest a dental implant or bridge. These are permanent restorative procedures that involve cutting of gum tissues, insertion, etc.
This means your gums need to heal from the extraction first. During this healing phase, your gums should not experience any wear and tear or physical trauma. To ensure this, your dentist will ask you to wear dental flippers for 1 to 2 weeks.
2. Cosmetic Enhancement
Some patients don’t want to get an implant or bridge. They prefer having missing teeth to getting artificial teeth inserted into their gums. However, this personal choice comes with a major challenge; aesthetics
Not everyone has the confidence to smile with a missing tooth. They find it unappealing and unflattering. To overcome this insecurity, they wear dental flippers.
3. Financial Restraints
A dental implant or bridge costs $3000 to $5000 in the US. Although most patients have dental insurance to cover these huge payments, some just can’t afford it. They may need some time to arrange the finances.
During this time, they can wear flipper teeth to improve their looks and chewing functionality.
When Can You Remove a Dental Flipper?

Most people only wear dental flippers for post-extraction healing. As soon as the gums are healed, they opt for a long-term solution. There are also some who wear dental flippers for a lifetime (due to personal choice).
Whatever your reason is, here is when you may want to remove your flipper replacement tooth:
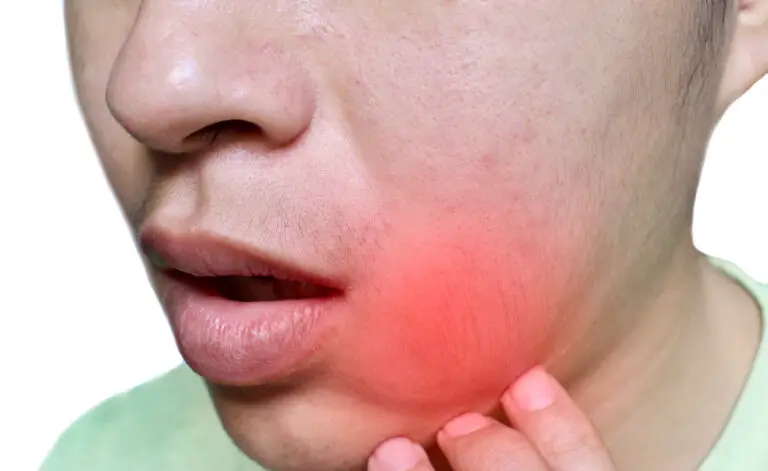
1. Discomfort
If your dental flippers don’t fit properly or have rough edges, they can have the opposite effect on your gums. Instead of protecting and soothing them, you will notice extreme irritation around the dental flippers.
You may also feel soreness or needle-like pain. In any case, you should remove the dental flippers immediately and contact the professional.
2. Sleeping
Dental flippers shouldn’t be worn 24/7. This is because the gums underneath aren’t fully healed, and when you use prosthetic devices to chew all day, they put pressure on the sensitive gum tissues.
This can lead to gum recession and even bone loss. It’s important to take them off at night and allow the gums to relax. If you’ve sleep apnea, doing so will also help prevent loosening of the flippers during sleep and choking.
3. Cleaning
Since dental flippers are not your natural teeth, they can collect more food particles and plaque around them. Food may even get underneath the flipper tooth. This can increase the risk of tooth decay.
So, to ensure thorough cleaning of your mouth, you can remove dental flippers regularly. Just remove them, brush your teeth, clean dental flippers, and put them back!
4. Emotional Confidence
If you wore dental flippers because of looks, there might come a time when you feel confident about your toothless smile. You may start to feel more comfortable with your natural smile and may want to embrace it by removing dental flippers.
Please note you don’t need to take out dental flippers during eating. Although you can do that, it is not recommended because the action of chewing can damage the unhealed gums and cause further complications.
The best option is to keep the flippers on and practice safe eating habits. For example, eat only soft foods and chew them using both sides of the mouth. Also, don’t use the front flippers to pull food from a fork.
How to Remove a Dental Flipper?
Removing dental flippers is a simple process. Here’s a step-by-step guide on how to remove a dental flipper safely:
Step 1. Rinse Your Hands & Mouth
First of all, wash your hands with soap and sanitize them. You don’t want any bacteria to invade your mouth and trigger painful infections. Then, rinse your mouth thoroughly with lukewarm water.
This will dislodge any stuck food particles and debris. It will also loosen the dental flipper from its position.
Step 2. Gently Loosen the Flipper
Now, place your fingers firmly against the dental flippers and hold them in place. One finger should be at the front, and the other should be at the back so that the dental flipper is between your fingers.
Gently pull the flipper down or up depending on whether it is your upper or lower jaw. You may have to wiggle it a little but don’t apply a lot of force. Too much pressure can crack or even break the metal clasps.
Instead, just pull and wiggle the flipper until you hear the click of metal clasps loosening.
Step 3. Slide it Out
Once the dental flipper is loose, gently slide it out of your gums. Please don’t tug it out or pull too hard because the metal clasps might still be attached to some of your existing teeth. If you aren’t gentle with the process, you might end up damaging your healthy teeth too.
Step 4. Inspect and clean the Flipper
After removing the dental flipper, take a moment to inspect it for any damage or wear. If there are any cracks or chipped edges, put it aside and contact your dentist to learn about possible repairs.
But if the flipper is completely okay, rinse it with room temperature or cold water. This will remove all the saliva and debris. You can also use a soft-bristle toothbrush and paste to clean the prosthetic teeth more thoroughly.
If you have a denture brush or cleaner, you may want to use it too. But don’t use anything other than toothpaste or denture cleaner.
Step 5. Store It Properly
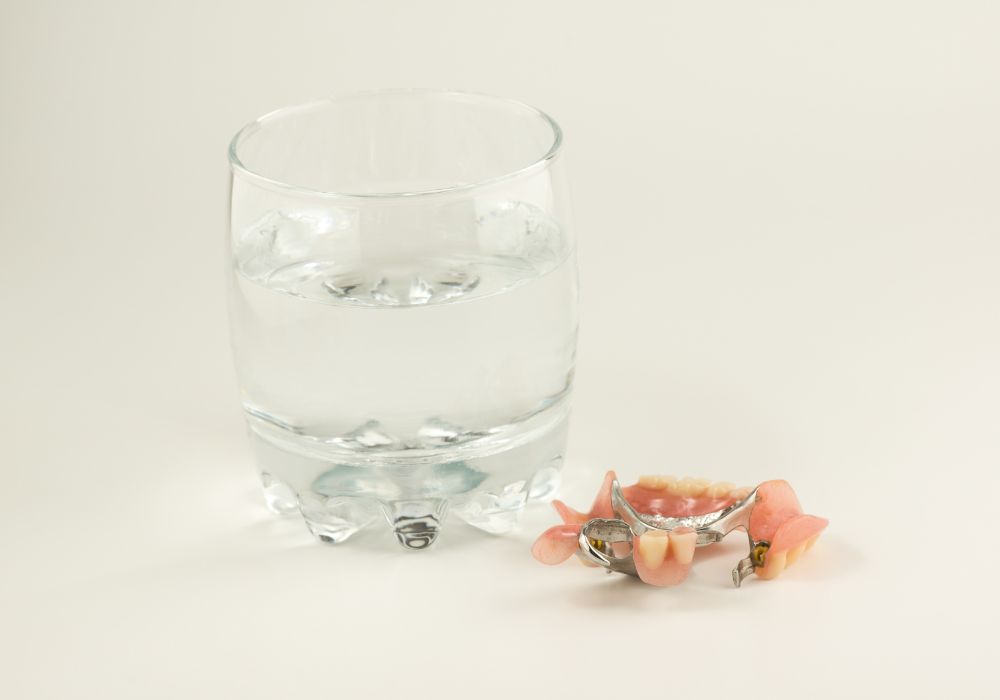
Wrap up the process by deciding whether you want to wear the dental flippers after some time or not. If you don’t plan to wear them ever again, place them in the denture case. Otherwise, place your dental flippers in a water container to prevent them from drying out.
Dealing with Removal Complications

Sometimes, the dental flipper gets stuck during removal. This may happen because of food debris, mouth abnormalities, or simply when the metal clasps are too tight. In any case, here are a few tips to deal with the complications:
1. Don’t Panic
Staying calm is important in this situation. Don’t pull too hard or use excessive force, as it can damage the gums and your surrounding natural teeth.
2. Reposition the Flipper
Gently try to reposition your dental flipper into its original position. This may help release any area where it might be caught or stuck.
3. Use Lukewarm Water
Rinse your mouth with lukewarm water to loosen the flipper. The heated water will not only make the flipper soft but will also have a lubricating effect for easy removal. But please don’t use hot water, as it can cause the dental flippers to warp.
4. Try Different Angles
Wiggle the dental flipper up and down while slightly changing its angle. Be patient and gentle, as trying different angles may take some time. If nothing works, call your dentist to help you out.
Summary
All in all, dental flippers are a great solution for people with missing teeth and damaged gum tissues. The artificial gum and teeth allow the gums to heal while maintaining the beauty of your smile.
But if you’ve decided to get rid of them, here’s how to remove a dental flipper safely:
- Wash your hands and rinse your mouth with warm water.
- Hold the dental flipper and gently wiggle it.
- Once you hear the clicking sound or feel the sensation, slide it out of your mouth.
So, what are you waiting for? Try it out and let us know about your experience in the comments below!