Should You Floss Your Dog’s Teeth?
Many dog owners wonder if they should floss their dog’s teeth. While brushing cleans the outer surfaces of the teeth, flossing removes plaque and food debris from between the teeth and just below the gumline where periodontal disease often starts. Let’s take a look at the pros and cons of flossing your dog’s teeth and some tips for how to do it safely and effectively.
The Benefits of Flossing Your Dog’s Teeth
Here are some of the main benefits of taking the time to floss your dog’s teeth:
- Removes plaque and debris from areas a toothbrush can’t reach – Toothbrushing alone leaves plaque behind between teeth and under the gumlines. This plaque hardens into tartar which leads to gingivitis and periodontal disease. Flossing reaches those critical areas that brushing misses.
- Helps prevent periodontal disease – By keeping the entire mouth clean, flossing helps block bacteria from taking hold and forming plaque in vulnerable areas. This reduces inflammation and the risk of painful infections that come with periodontal disease.
- Slows the progression of existing periodontal disease – For dogs who already have some degree of periodontal disease, consistent flossing can help disrupt the environment bacteria need to thrive in the mouth. This may help slow the loss of tissue and bone that occurs as the disease worsens.
- Freshens breath – Food particles and bacteria that get trapped between teeth cause bad doggy breath. Flossing removes these odor sources and leaves the whole mouth feeling cleaner.
- May reduce the risk of other health issues – Research shows that periodontal disease in dogs has been linked to damage to internal organs like the heart, kidneys, and liver. Keeping the teeth and gums healthy with flossing may help avoid these complications.
Potential Drawbacks of Flossing Your Dog’s Teeth
There are also some potential downsides to flossing your dog’s teeth to consider:
- It can be difficult to do – Dogs are not always receptive to having a floss thread pulled between their teeth. Their natural reaction is to resist and try to bite down. Developing the trust and training for your dog to tolerate flossing takes concerted effort over time.
- Risk of injuring gums – Inserting floss under the gumline poses a danger of hurting the gums if proper technique is not used. Cuts and abrasions can allow new bacteria to enter. Inflamed gum tissue is also more prone to damage.
- Does not replace brushing – While flossing gets the areas brushing can’t reach, it does not clean the broad outer surfaces of teeth. For full mouth care, regular brushing is still essential even if flossing is added to the dental routine.
- Your dog may bite down on and ingest floss – Some dogs are inclined to bite and swallow the floss as it’s being pulled between their teeth. Ingested floss can cause internal damage. This behavior may make flossing unsafe for some dogs.
- It’s time consuming to do properly – Rushing through flossing risks hurting your dog. Taking all the needed precautions while fully cleaning each tooth makes the process lengthier than just brushing. It requires an investment of time to do it consistently.
Overall, while flossing does provide meaningful oral health benefits, it also requires care and effort to avoid hurting your dog or having them resist or bite the floss. Consult your veterinarian to see if they recommend adding flossing to your dog’s dental home care routine based on their health profile and temperament.
Dog Dental Anatomy

To understand how to floss a dog’s teeth properly, let’s look at some key features of dog dental anatomy:
Types of Teeth
Dogs have four types of teeth, each with specialized shapes and functions:
Incisors – The small, chisel-shaped front teeth. Dogs have six incisors on top and six on the bottom. They are used for nibbling and biting off pieces of food.
Canines – The tall, pointed fangs designed for piercing and tearing meat and prey. Dogs have four canines – two on top and two on the bottom. They help grip and shred food.
Premolars – These broad-surfaced teeth behind the canines help dogs chew and crush hard foods. Dogs have eight premolars on top and 10 on the bottom.
Molars – The large, multi-cusped teeth at the rear are used for grinding food. Dogs have four molars on top and six on the bottom.
Tooth Surfaces
Dog teeth have five different surfaces:
Outer Surface – The visible surface of the tooth facing out towards the cheek.
Inner Surface – The surface facing toward the tongue on the inside of the mouth.
Chewing Surface – The broad, flat top surface that makes contact when biting down.
Upper Sulcus – The V-shaped groove along the gumline on the upper teeth where plaque accumulates.
Lower Sulcus – The V-shaped groove on the lower teeth near the gums. This is also prone to plaque.
Keeping the sulcus area clean is critical for preventing periodontal disease. This is a prime area to focus when flossing.
Gum Health
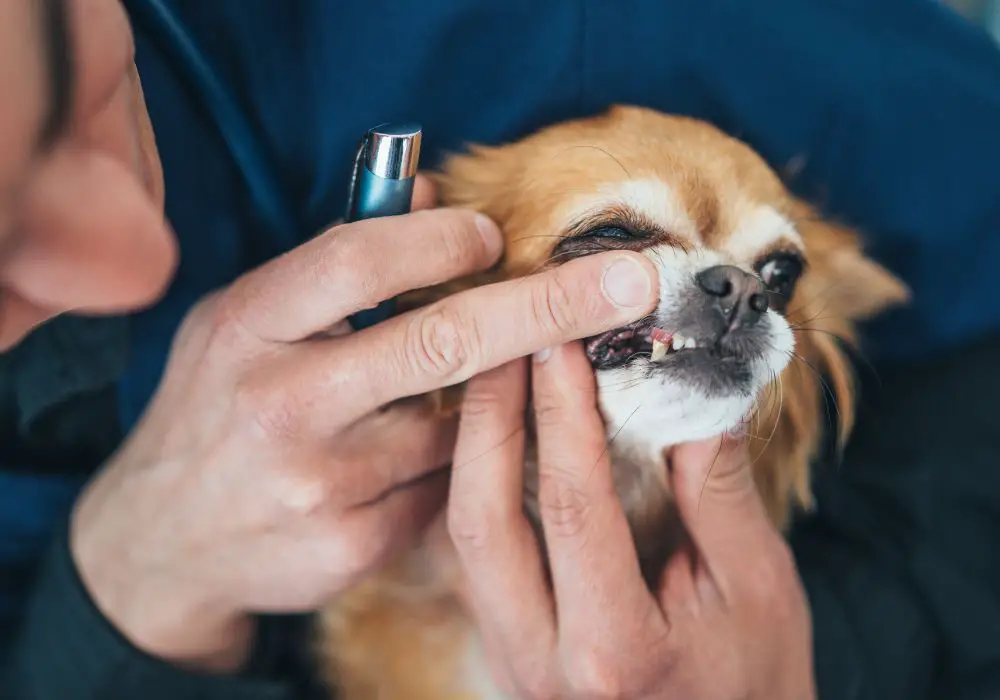
Examining your dog’s gums provides clues about their dental health:
- Pink, firm gums – This is normal, indicating healthy teeth and gums.
- Pale, white gums – This can be a sign of anemia or poor circulation.
- Red, swollen gums – Inflammation and infection are likely present.
- Receding gums – Gums pulling back from the teeth indicate periodontal disease.
- Bleeding gums – Gingivitis and loss of gum attachment allow bleeding.
Any abnormal gum color or texture warrants a veterinary dental exam.
Below the Gums
Below the gumline, each tooth has a pocket around it called the sulcus. Plaque readily builds up deep inside this area where brushing can’t reach.
As periodontal disease advances, the sulcus pockets become deeper pockets around the tooth as connective tissue and bone are destroyed by the infection under the gums.
Keeping the sulcus as plaque-free as possible with brushing and flossing is key for preventing periodontal disease.
How to Floss Your Dog’s Teeth Step-By-Step
Now let’s go through the process of flossing a dog’s teeth step-by-step:
Supplies Needed
Gather together these supplies before starting:
- Dog toothbrush
- Dog toothpaste – enzymatic formula for breath freshening
- Y-shaped flosser or a piece of floss 12-18 inches long
- Dog treats – small, soft treats work best
- Towel or cloth to clean your dog’s face
Tips for Success
Keeping these tips in mind will make the process easier on both you and your dog:
- Remain calm and work slowly. Dogs pick up on your mood.
- Give treats, encouragement, and praise constantly throughout. This motivates your dog to cooperate.
- Start with just a few teeth at a time and work up to the whole mouth.
- Stop immediately if your dog seems stressed or agitated. Pushing them can ruin the training.
- Try again another day if your dog won’t tolerate it. Forcing it creates a negative experience.
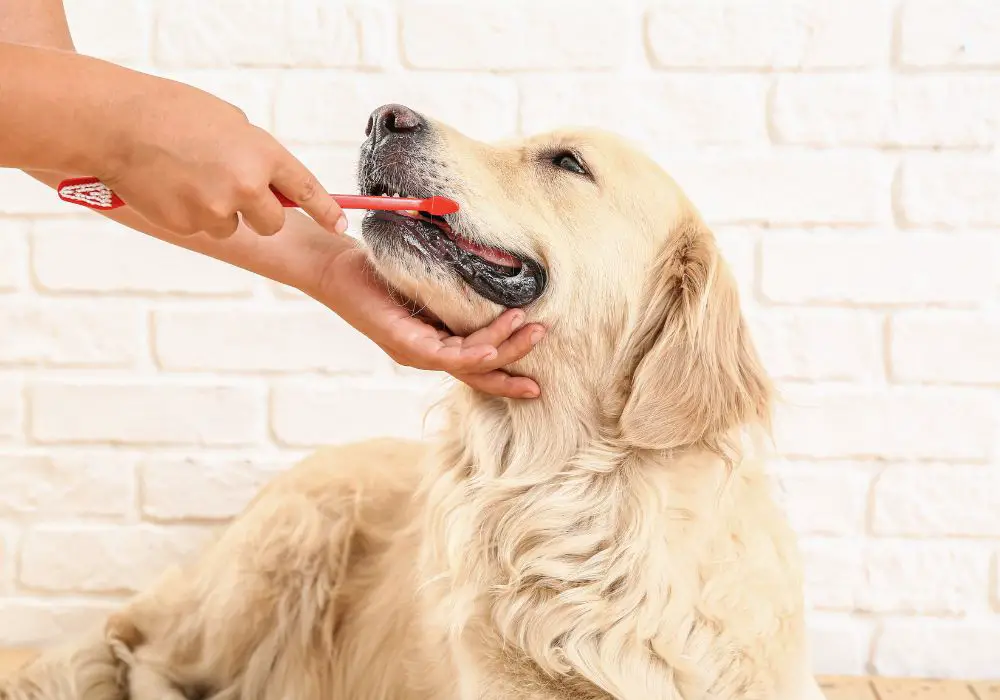
Step 1: Get Started with Toothbrushing
Before introducing flossing, begin with a toothbrushing session. This gets your dog comfortable with fingers and objects in their mouth. Brushing also removes any large pieces of food and debris between teeth that could interfere with flossing. Use an enzymatic toothpaste that leaves a pleasant taste and freshened breath.
Step 2: Insert the Flosser
With one hand under the chin, gently hold your dog’s mouth closed. Don’t force it. This gives you access to the back teeth. Keeping your hands low avoids the teeth. With your other hand, carefully slide the floss down in between two teeth, above the gumline. Insert it into the crevice between the teeth rather than jamming it through the contact point.
Step 3: Wrap the Floss Around a Tooth
Gently guide and wrap the floss around one tooth, pressing it down into the sulcus area you want to clean below the gumline. If using string floss, make an up-and-down C-shape motion to wrap it around the tooth.
Step 4: Floss Up and Down
With the floss held tight to the tooth, move it gently up and down to scrub the side of the tooth. Apply light pressure to clean down inside the sulcus but avoid shredding the floss. Work any plaque and debris up out of the gum pocket.
Step 5: Floss the Adjacent Tooth
Unwrap the floss from the first tooth. Re-insert it between the next two teeth. Repeat steps 3-4 to floss the adjacent tooth.
Step 6: Continue Flossing Methodically
Work your way slowly forward along the teeth on one side of the upper jaw using this “wrap and scrub” technique. Provide praise and give treats as you proceed. Cover the premolars and molars where plaque builds up most.
Then switch to the lower teeth and repeat the process. Stay calm and patient. Stop if your dog begins resisting.
Step 7: Rinse and Check for Debris
After flossing the whole mouth, rinse your dog’s mouth with water or do a final toothbrushing to help wash out any dislodged plaque and food particles. Check their teeth afterward – any remaining debris may indicate an area that needs more scrubbing next time.
Tips and Precautions for Safe Flossing
Here are some important tips and precautions to keep in mind for safely flossing your dog’s teeth:
- Go slowly – Build up your dog’s tolerance over multiple sessions before trying to floss the whole mouth. Rushing increases the risk of hurting them.
- Avoid forcing the floss – Don’t jam the floss through tight contact points. Go gently below the gumline, not jabbing it in. Stop if gums start bleeding.
- Use proper flossing motions – Wrap the floss around each tooth and scrub it up and down the sides. Don’t violently yank floss back and forth through the teeth.
- Unwrap fully from each tooth – As you move to the next tooth, be sure to fully unwrap and disentangle the floss before reinserting it. Don’t yank it out.
- Watch for signs of pain – Stop immediately if your dog whines, yelps, or shows aggression. They may have a fractured tooth or infected gums.
- Stop flossing if gums bleed – Bleeding is a sign of inflammation. Let it heal before flossing again or get them checked for periodontal disease.
- Avoid dogs with serious dental disease – Consult with your vet before flossing dogs who already have advanced gum recession, abscesses, or extreme plaque buildup.
Proper training and technique prevents flossing a dog’s teeth from becoming a traumatic experience. Stop and seek veterinary advice if problems arise.
Answers to Common Flossing Questions
Here are answers to some frequently asked questions about flossing dog teeth:
How often should I floss my dog’s teeth?
Most vets recommend flossing 1-2 times per week for optimal dental health. Focus mainly on the back teeth where plaque accumulates readily. Avoid excessive flossing more than every other day, as this can damage gum tissue.
What type of floss works best for dogs?
Standard floss or tape floss work well for dogs. There are also specialized Y-shaped flossers designed to more easily get between back teeth. These allow flossing with just one hand. Avoid strongly flavored flosses.
Should I use dog toothpaste when flossing?
Yes, applying a small amount of dog-formulated toothpaste to the floss can provide extra cleaning power and freshening effects. Just be sure to rinse it out thoroughly afterwards and not let your dog swallow it.
Is flossing safe for dogs with diseased gums or severe plaque buildup?
It’s best to have your vet evaluate your dog’s oral health before flossing if they have advanced gum disease, excessive plaque, or loose teeth. Flossing could damage diseased tissue or dislodge plaque chunks that get swallowed or block the airway.
What if my dog keeps trying to bite down on the floss?
Some dogs aggressively bite down on floss placed in their mouth. If yours won’t stop, even with training using praise and treats, flossing may not be possible without risking them breaking off and swallowing floss fragments.
Should I floss my puppy’s teeth?
Puppies usually have tight spaces between teeth that make flossing difficult or impossible. Focus instead on regular toothbrushing to establish a dental care routine. Once adult teeth erupt, around 6-7 months old, you can begin gently introducing flossing.
Conclusion
While flossing your dog’s teeth takes patient training and care, it provides valuable deep cleaning between teeth, below gumlines and inside crevices where plaque hides. For dogs prone to severe plaque, tartar, and periodontal disease, adding flossing 1-2 times per week may help reduce infection and chance of tooth loss. Work gradually up to complete mouth flossing as your dog learns to accept the process. Proper technique avoids injuring gums. Consult your vet on whether to include flossing as part of your dog’s dental home care routine. With time and positive reinforcement most dogs can adapt to having their teeth flossed regularly.