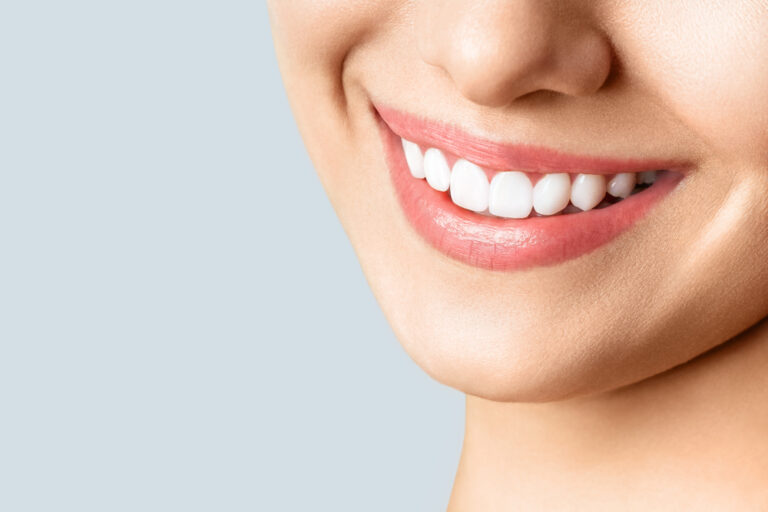
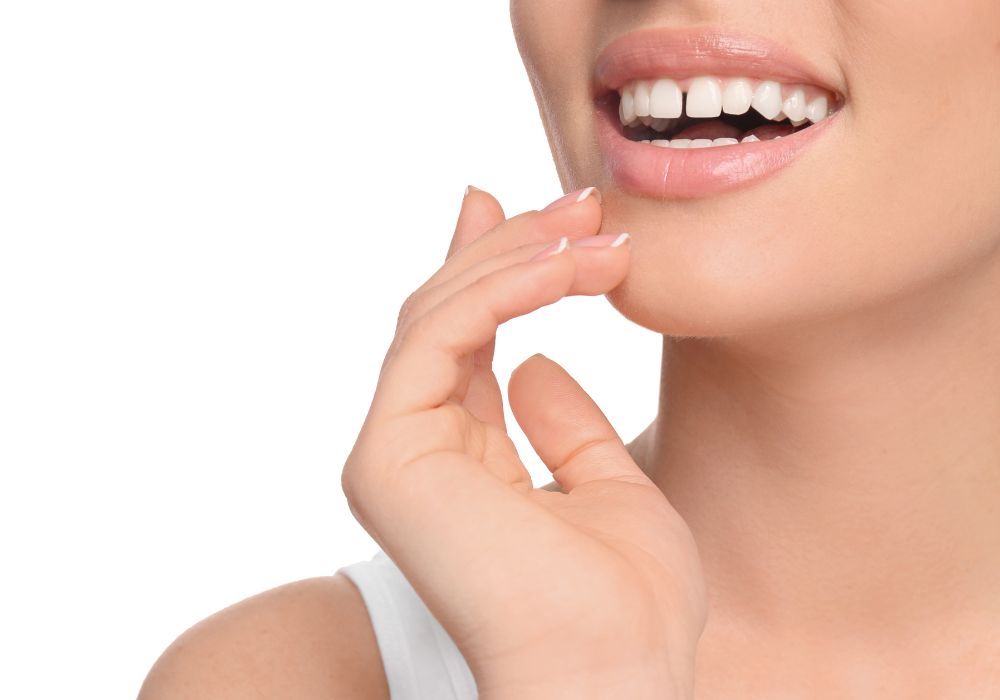
Having an unsightly chip, crack or cavity in your front teeth can make you reluctant to smile and self-conscious about the appearance of your teeth. While the best long-term solution is to see a dentist for a professional filling, minor flaws in front teeth can sometimes be temporarily repaired at home using bonding kits. DIY dental fillings allow you to fill small gaps, chips or discoloration in your front teeth without immediately going to the dentist. This can help improve the look of your smile while you save up for a more permanent dental office repair.
With the right supplies and techniques, it may be possible to safely and effectively fill superficial front tooth flaws on your own. However, there are important guidelines to follow and limitations to be aware of when using DIY bonding products. Taking the time to properly evaluate your tooth damage, prepare the tooth surface, apply bonding material and cure it correctly will give you the best results.
This comprehensive guide covers everything you need to know about filling front teeth yourself at home. Learn how to determine if your tooth qualifies for a DIY repair, what supplies you’ll need, step-by-step application instructions, and care tips for maintaining your home filling. We’ll also discuss when it’s better to see a dentist rather than attempting a homemade fix. Read on to find out if you can realistically fill small gaps in your front teeth without going to the dental office.
Assessing if your tooth damage can be filled at home
Not all tooth flaws are suitable for DIY repairs. Before considering a home filling, critically examine your tooth damage to see if it meets the criteria for a safe, effective home repair. Here are some tooth issues that may work for home filling:
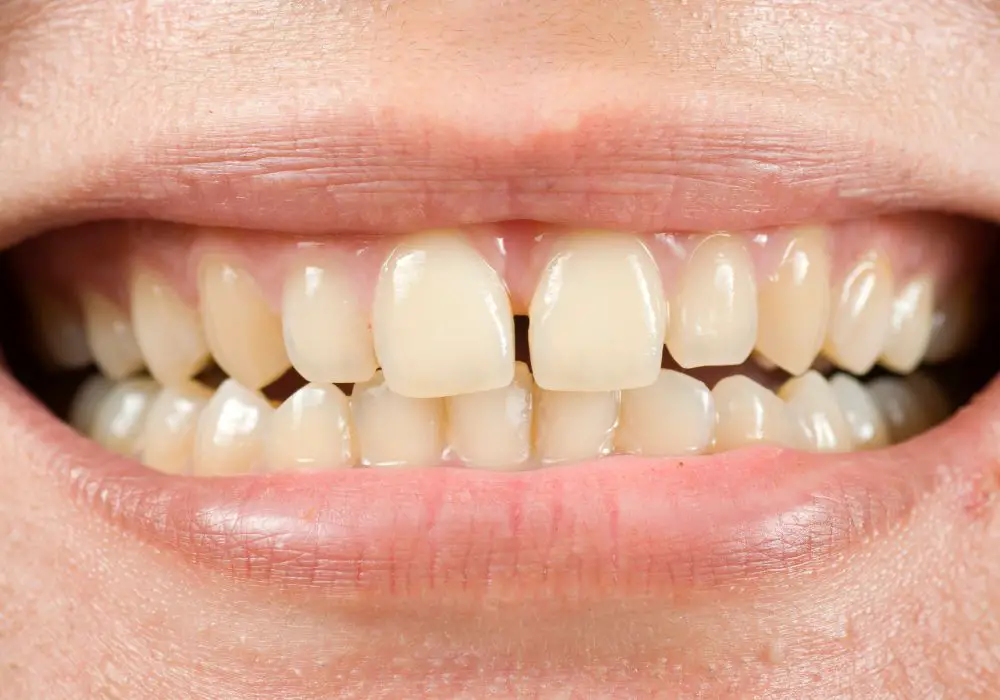
Small chips or fractures in the enamel: Superficial cracks, fractures or chips affecting just the external enamel layer of the tooth can often be filled at home. Make sure the crack does not extend down into the deeper layers of the tooth.
Minor cavities: Small cavities that have not reached the inner pulp chamber of the tooth may be good candidates for home filling, especially if they are not causing any pain. This prevents them from getting worse while you save up to see a dentist.
Worn areas: If you have excessive gaps between front teeth due to wearing down of the enamel and dentin, you can apply bonding material to close the gaps. This provides a smoother smile line while you pursue longer-term treatment.
Discoloration: Home bonding kits can also be used to cover up discolored spots on front teeth. Match the material color to your natural tooth shade for a temporary whitening effect.
Some tooth damage that is NOT appropriate for DIY filling includes:
- Large cavities with visible decay
- Cracks extending vertically into the tooth
- Chunks missing from the tooth
- Loose or broken cusps
- Any pain, swelling or abscesses
- Advanced periodontal disease between teeth
These situations indicate damage deeper than the enamel layer, so require professional dental treatment. Placing bonding material over deep decay or fractures can make the problem worse.
Use your best judgment to decide if your tooth flaw seems minor enough to attempt a short-term home repair. When in doubt, consult your dentist first to evaluate if DIY filling is an option. For anything beyond a small, superficial chip or cavity it’s safest to get treatment from a dental professional.
Supplies needed for DIY front tooth fillings
If your tooth damage seems like a possible candidate for home repair, the next step is gathering the right dental filling supplies. Look for products specifically designed for DIY cosmetic dentistry use rather than industrial bonding and gluing products. Here are the essential supplies to have on hand:
- DIY dental bonding or repair kit – This contains everything needed to etch, bond and fill the damaged tooth area. Look for kits with outer packaging that blocks UV light to avoid premature curing.
- Dental picks and probes – Useful for cleaning out any decay material from cracks or cavities before filling them.
- Cotton rolls, cheek retractor and dental mirror – Helps retract cheeks and isolate the tooth area you are repairing.
- Mixing surface – A clean glass slab, ceramic tile or plastic palette for mixing the bonding putty.
- Shade guide – Helps you match the putty color to surrounding teeth.
- Curing light – Dental curing lights or UV lamps quickly harden the filling material once applied on the tooth. Most kits include a mini curing light.
- Finishing strips or polishing kit – Files away any excess hardened bonding material for a smooth finish.
- Tweezers, plastic filling instrument – Makes it easier to handle and shape the bonding putty on your tooth.
- Toothbrush, floss, toothpaste – For cleaning your teeth before and after the home filling procedure.
- Magnifying safety glasses – Lets you see the tooth area up close.
Once you’ve gathered the necessary dental supplies, you can get started repairing your chipped or damaged front tooth. Make sure to carefully read and follow the instructions provided with your DIY bonding kit.
Prepping the tooth for DIY filling
Before applying any bonding material, the damaged tooth area must be cleaned, isolated and etched to ensure proper adhesion. Follow these steps to prep the tooth surface:
- Brush and floss – Clean the tooth thoroughly with a toothbrush and floss to remove plaque, then rinse. This prevents contamination or weak bonding.
- Isolate the area – Place cotton rolls or a cheek retractor to keep cheeks and tongue away from the tooth. Try to limit saliva contact with the bonding site.
- Roughen with etching gel – Apply the phosphoric acid etching gel (included in most kits) and let sit for 30 seconds to 1 minute. This etches the enamel surface for better bonding adhesion.
- Wash and dry – Rinse away all etching gel residue after time is up, then thoroughly dry the area with an air syringe or gauze. Moisture will ruin the bond.
- Dig out any decay – Use a dental explorer tool to carefully scrape out any softened, damaged material in a crack or cavity before filling it.
- Apply bonding agent – Brush a layer of bonding agent liquid over the roughened enamel and let sit for 10-20 seconds. This further primes the surface.
The damaged tooth area should now be prepped and ready for placement of the DIY filling material. Follow all steps above carefully – improper etching, rinsing, drying and decay removal will result in a weak bond that falls out quickly.
Placing the composite resin filling
Now that the tooth surface is prepped, you can fill any cracks, chips, gaps or cavities using the DIY dental filling kit. Follow these steps when placing the actual composite resin material:
- Select tooth shade – Hold the shade guide up to surrounding teeth and choose the putty color that best matches your natural tooth color. This gives the filling a more natural appearance.
- Knead putty – Take a small amount of the composite resin putty and knead between gloved fingers until it reaches an easily pliable, doughy texture.
- Fill the flaw – Press putty firmly into the crack, gap, chip or hole you are repairing, overfilling slightly. Make sure it reaches all affected areas.
- Shape – While still pliable, use a plastic filling instrument or toothpick to shape the excess putty, carving and smoothing it level with the surrounding tooth surfaces. Remove any extra.
- Cure with light – Follow kit directions for hold the curing light over the filling for 20-60 seconds until hardened. Do not look directly at the light.
- Finish and polish – Carefully file away any rough edges or ridges with finishing strips to make the DIY filling flush with the tooth enamel. Buff to a polished finish.
When properly shaped, cured and finished, the composite resin material should be tightly bonded to form a natural looking DIY tooth filling.
Caring for your home tooth filling
Once your DIY tooth filling is complete, you’ll need to take measures to protect it and make it last as long as possible:
- Avoid chewing on the filled tooth for at least 24 hours while the bond fully hardens. Stick to soft foods.
- Maintain excellent oral hygiene to prevent cavities or decay around the repaired tooth. Brush and floss thoroughly.
- Check for sensitivity or pain, which may indicate an improperly bonded filling that needs dental attention.
- Avoid staining foods and drinks like coffee, tea, wine, berries, tomato sauce which can discolor the bonding over time.
- Have your dentist evaluate the DIY filling at your next checkup and clean your teeth properly around the repair.
With proper home care, a conservative DIY front tooth filling may potentially last 6 months to 2 years. But avoid biting down directly on the repair and see your dentist as soon as possible for a permanent solution.
Pros and cons of DIY dental fillings
Trying to fill a damaged front tooth on your own with a bonding kit has certain advantages but also limitations to consider:
Pros:
- Convenient, fast, can be done immediately at home
- Avoids dental visit for minor flaw
- Less expensive than professional filling
- Can temporarily improve appearance
Cons:
- Not as strong, durable or stain-resistant as a dental office filling
- Higher risk of trauma or damage when chewing
- Color match may not be perfect
- Can fall out more easily over time
- Not a long-term solution for repairing tooth structure
For a small enamel chip with no pain, DIY bonding lets you quickly improve appearance of the tooth. But for fractures, extensive decay or major reconstruction, a dental crown or veneer is needed. Discuss your best options with your dentist.
When should I see a dentist instead of DIY filling?

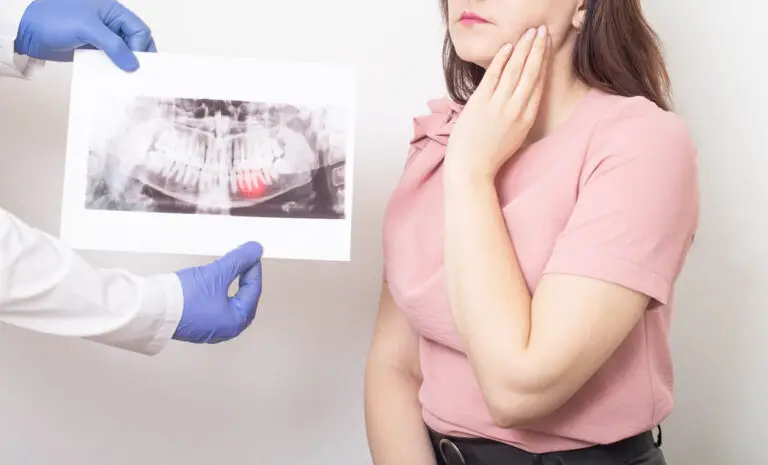
While minor chips and surface flaws may be temporarily repaired with home kits, more serious tooth damage requires professional dental treatment. See a dentist right away if you experience:
- Tooth pain, sensitivity or throbbing
- Tender, swollen gums around the tooth
- Deep crack or fracture into inner tooth layers
- Lingering sensitivity to hot and cold
- Dark discolored spot suggesting inner decay
- Constant irritation and food catching in the flaw
- An abscess or pimple-like bump on gums
These signs indicate issues like infection, pulpal necrosis, or a crack reaching the pulp needing urgent dental care. Placing a DIY filling over these problems will likely make them worse. Get an x-ray and expert diagnosis rather than attempting a homemade remedy.
Professional vs. DIY filling comparison
Here is how professional dental fillings differ from DIY home fillings:
| Professional Dental Filling | DIY Home Filling |
|---|---|
| Performed by a dentist | Done yourself at home |
| Uses anesthesia | No anesthesia given |
| Decay fully removed | Only surface decay removal |
| Bonded tightly to roughened enamel | Bond may be less effective |
| Smoothly polished | DIY polish not as smooth |
| Lasts 10-15 years | Lasts 6 months – 2 years |
| Perfect color match | Color match may be slightly off |
| Costs $150-$300 | Costs $20-$40 for kit |
As you can see, professional fillings are superior in bonding strength, longevity, polish and aesthetics. But DIY kits have the benefits of affordability and convenience for very minor flaws. Talk to your dentist to decide what type of filling is best for your particular tooth issue.
DIY front tooth filling step-by-step
Here is a quick recap of the complete process for filling a front tooth yourself using a home bonding kit:
- Evaluate damage – Make sure it is minor enamel only, no inner pulp issues.
- Gather supplies – Composite resin kit, etching gel, light cure, tools.
- Prep tooth – Clean, isolate, etch enamel, remove decay.
- Apply bonding – Coat etched enamel to prime surface.
- Fill cavity – Knead resin, fill chip/gap/crack and pack tightly.
- Shape – Mold putty into natural tooth contours.
- Cure – Hold light over filling to harden bonded resin.
- Finish – File and polish for smooth feel.
- Maintain – Avoid chewing on repair, practice good oral hygiene.
- See dentist – Get evaluated for permanent solution.
Follow each step closely for best results. With small flaws, this process can temporarily improve the look and function of damaged front teeth before you’re able to visit the dentist.
Frequently asked questions about DIY tooth fillings
Still have questions about filling front teeth at home? Here are answers to some commonly asked questions:
How long does a DIY filling last?
On average, 12-18 months with proper home care. Factors like size, location, and bite pressure impact longevity.
Should I avoid chewing on the filled tooth?
Yes, avoid hard chewing directly on the repair for at least 48 hours as the bond fully sets. Then chew carefully.
Can I use industrial products instead of dental kits?
No, only use products designed for dental use like composite resin to safely fill teeth at home.
How do I match the tooth color properly?
Use the shade guide in the kit and natural light. Have someone else look and give their opinion on the color match.
Conclusion
Repairing minor cosmetic flaws in front teeth is possible from the convenience of home using DIY filling kits. These can offer a temporary way to fill small gaps, fractures, discoloration or cavities in your smile. Home fillings are affordable and quick. But they are not meant to be long-term solutions for tooth reconstruction.
Carefully evaluate your tooth damage to see if it qualifies for DIY repair. Then follow all preparation, isolation, etching, filling and curing steps precisely. Avoid chewing on the repair for 48 hours while it fully hardens. Have your dentist check the filling at your next visit and pursue more lasting treatment when possible. While home fillings have limitations, they can serve as a short-term fix for damaged front teeth when applied correctly.