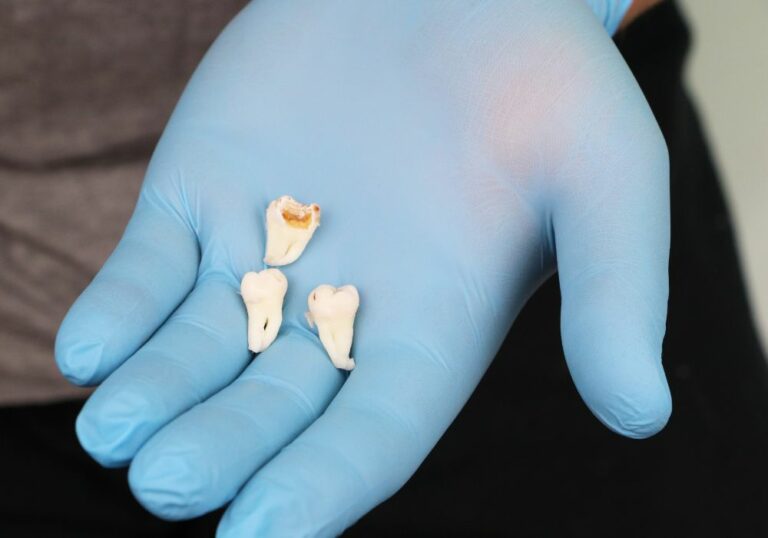
A lost filling or a cavity that has worsened over time often leaves a hole or gaping pit in the tooth structure. This can cause sharp pains when eating or drinking cold and hot substances, as the inner pulp nerve is exposed. Biting down can also be uncomfortable. While seeing a dentist for a permanent restoration is recommended, it may take days or weeks to get an appointment. In the meantime, severe pain and further tooth damage can potentially be avoided by temporarily filling the cavity at home until you can be seen professionally.
What is a temporary filling and why is it used?

A temporary filling, also called interim filling or temporary restoration, is a short-term material placed in a tooth cavity or fracture to protect the tooth. It aims to:
- Relieve pain and discomfort
- Avoid further decay and infection
- Seal out debris, air, and fluids from entering the tooth
- Restore chewing function
- Allow time to get professional dental treatment
Temporary fillings are meant to be used for just weeks at most before being replaced with a permanent resin composite or amalgam restoration done by a dentist. They serve as an emergency bandage to cover holes in teeth and prevent worsening damage.
There are several types of temporary filling materials available for at-home use:
- Cavit – A fast-setting paste containing zinc oxide, silicone oil, and gypsum cement. Sets hard within minutes.
- IRM – Intermediate restorative material composed of reinforced zinc oxide eugenol cement. Contains antibacterial properties.
- Glass ionomer cement – Acrylic acid combined with fluoroaluminosilicate glass powders. Releases fluoride.
- Composite resin – Plastic dental filling material that hardens with curing light. Can be shaped as needed.
- Dental wax – Sticky beeswax that acts as a protective coating over the cavity. Very short term.
The ideal temporary filling seals out irritants, relieves pain, is antibacterial, and is durable yet easy to remove. It should also be affordable, easy to place properly, and mimic the tooth for good occlusion.
Benefits and risks of do-it-yourself temporary fillings
There are some potential benefits as well as risks to consider when deciding whether to temporarily fill your own tooth at home.
Possible benefits
- Quickly relieves toothache pain caused by the cavity
- Seals off the inner pulp chamber from external stimuli
- Prevents further decay and bacterial invasion of the cavity
- Restores chewing ability by filling the defect
- Buys time to make a dental appointment for treatment
- Avoids worsening of symptoms until the tooth can be fixed
Potential risks
- Incorrect placement can worsen decay or damage the tooth
- Material may leak out over time, requiring replacement weekly
- Nerve damage if filling presses on inner pulp tissue
- Failure to fill cavity properly, leaving gaps for bacteria
- Difficulty matching color with surrounding tooth structure
- Weak bonding strength compared to permanent fillings
- Can delay seeking professional help, allowing more destruction
Overall, the benefits likely outweigh the risks in cases of severe pain when professional help is not immediately available. However, temporary fillings should always be followed up soon with proper dental repair for optimal long-term tooth health.
Step-by-step guide on how to temporarily fill a tooth yourself

If you decide a DIY temporary filling is needed for short-term relief until you can see a dentist, follow these steps:
1. Identify the problematic tooth and locate the cavity
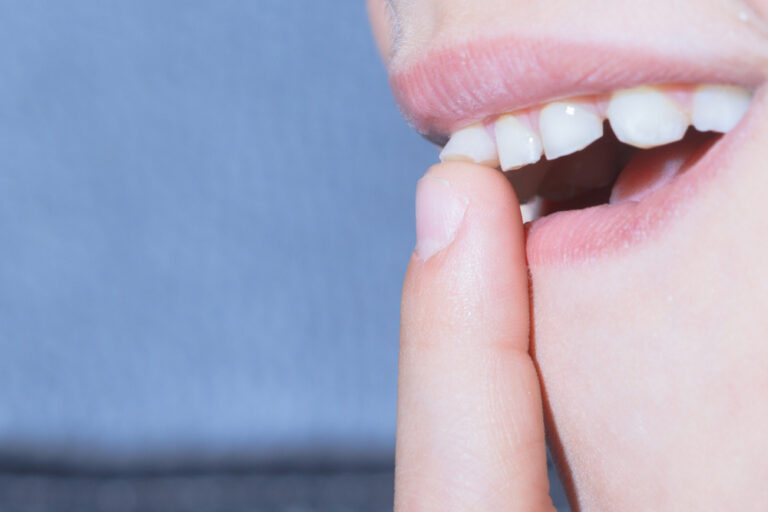
Look inside your mouth using a flashlight and mirror to find the specific tooth causing pain. Determine where the hole, fracture, or gap in the enamel is located – in between teeth, on the cheek or tongue side, on the biting surface, etc. Make sure you are looking at an actual cavity rather than just a superficial stain.
2. Clean and dry the area around the cavity thoroughly
Use floss to dislodge any trapped food debris in the cavity. Rinse thoroughly with an antiseptic mouthwash. Then dry the area using gauze, a paper towel twisted into a point, or a dry cotton roll. It is critical no saliva or moisture remains.
3. Select an appropriate temporary filling material
Consider factors like cost, ease of use, and duration it needs to last. Cavit, glass ionomer cement, and IRM tend to be the easiest for at home use. Follow all packaging instructions.
4. Place the material carefully into the cavity
Fill the hole according to the product directions. Do not overfill. Cavit and IRM may be packed in with an instrument. Glass ionomer is placed in thin layers and hardened with a light. Cover the base first.
5. Allow time to fully harden before chewing
Cavit takes about 5 minutes to set, IRM 6-8 minutes, and glass ionomer 30 seconds per layer. Do not eat or drink until the material has completely hardened to avoid dislodging it.
6. Check that your bite feels normal but avoids the filled tooth
Bite down gently and make sure the temporary filling does not interfere with your occlusion. Avoid chewing on that side.
7. Schedule a dental visit promptly to replace with a permanent restoration
Most DIY temporary fillings will last 1-2 weeks at most before needing replacement by a professional. Seek treatment ASAP.
Always carefully follow manufacturer’s instructions for preparation, placement, hardening times, and precautions when using any temporary filling product. Stop if pain increases or swelling occurs.
Types of materials for temporary fillings

There are a variety of options for materials that can be used to temporarily fill a tooth cavity in an emergency until dental treatment is available:
Cavit
Cavit is a fast-setting temporary filling material composed of zinc oxide, silicone oil, and gypsum cement. It is affordable and relatively easy to place for at-home use. Cavit comes as a powder and liquid that are mixed together to form a paste that hardens into a solid over 5 minutes. It lasts approximately 1-2 weeks.
IRM
Intermediate restorative material, also called reinforced ZOE cement, contains zinc oxide along with rosin, balsam, and other antimicrobial components. It has antibacterial properties to help prevent further decay. IRM starts out ropey and pliable but hardens over 5-10 minutes, allowing time to press it into the cavity. It generally lasts about 2-4 weeks.
Glass Ionomer Cement
Glass ionomer cement is composed of acrylic acids mixed with fluoroaluminosilicate glass. It bonds well to tooth structure and releases fluoride to help remineralize surrounding enamel. Glass ionomer is applied in thin layers, each cured with a special light. It is tooth-colored but less aesthetic looking than composite. It may last 2-3 weeks with good bonding technique.
Resin Composite
Composite resin is a white dental filling material that hardens when exposed to a curing light. It can be sculpted and molded as it is placed and will match the tooth color better than other options. However, it requires skill to use properly and is better saved for a professional dental repair. It may last up to 4-6 weeks if well-bonded.
Beeswax
Sticky dental wax can act as a very temporary protective coating over a hole in a tooth, lasting just 1-2 days. It is helpful in an urgent situation to provide relief until a proper filling can be obtained. It does not bond well but helps seal out irritants in a pinch.
Speak to your dentist if unsure which material to choose. Consider cost, ease of use, bonding strength, antibacterial properties, and how long it needs to last when selecting a product.
Step-by-step instructions for applying common temporary filling materials:
Cavit instructions:
Supplies needed:
- Cavit temporary filling kit (powder, liquid, pad)
- Gauze
- Plastic filling instrument
Directions:
- Dry tooth cavity area thoroughly with gauze.
- Mix one scoop of Cavit powder with 2 drops of liquid on pad.
- Use stick to stir into a thick paste for 30 seconds.
- Roll paste into ball and press firmly into cavity.
- Pack material into undercuts and extensions with instrument.
- Smooth excess. Harden completely for 5 mins before eating.
IRM instructions:
Supplies needed:
- roll of IRM temporary cement
- metal filling instrument
- cotton gauze
Directions:
- Isolate tooth cavity by drying area with gauze.
- Knead IRM cement with fingers until pliable.
- Press into cavity and pack tightly with instrument.
- Smooth out excess cement before complete set in 5-10 mins.
- Do not eat or drink for 30 minutes after placing.
Glass ionomer instructions:
Supplies needed:
- Glass ionomer capsule
- Capsule applier and mixer tip
- Curing light
- Cavity conditioner
- Gauze
Directions:
- Condition tooth with cavity conditioner gel. Dry.
- Load capsule into applier, click closed. Insert mixer tip.
- Press button to auto-mix capsule for 10 seconds.
- Fill cavity in thin layers, curing each layer for 20 secs.
- Final cure top layer for 40 seconds. Can polish after 24 hours.
Always carefully follow all manufacturer directions for the specific product you are using.
Table comparing key features of temporary filling options
| Material | Cost | Duration | Fluoride | Antibacterial | Bonding | Moisture Tolerant | Ease of Use |
|---|---|---|---|---|---|---|---|
| Cavit | $ | 1-2 weeks | No | No | Weak | No | Easy |
| IRM | $$ | 2-4 weeks | No | Yes | Moderate | No | Moderate |
| Glass Ionomer | $$$ | 2-3 weeks | Yes | No | Excellent | Yes | Moderate |
| Composite | $$$ | 4-6 weeks | No | Some types | Excellent | No | Difficult |
| Beeswax | $ | 1-2 days | No | No | Minimal | Yes | Easy |
As shown in the table, glass ionomer cement offers the best combination of fluoride release, bonding strength, and ease of use in a DIY temporary filling. However, speak with your dentist about which option is right for your specific situation.
Eating and drinking with temporary fillings

While temporary fillings are not meant to last long term, you can eat and drink normally with some precautions:
- Avoid chewing on the side with the temporary filling as much as possible
- Stick to soft foods for the first 24 hours to allow complete hardening
- Be gentle and chew slowly; cut food into tiny pieces before chewing
- Avoid very hot, cold, crunchy, sticky, hard foods which could dislodge the filling
- Do not bite into foods like apples, carrots, nuts, bagels, popcorn
- Cut up raw fruits and vegetables; avoid corn on the cob
- Avoid chewy, sticky, hard candies that could pull out the filling
- Drink room temperature or lukewarm beverages
- Take care brushing and flossing around the temporary filling
- Rinse mouth gently without swishing vigorously after eating
- Check after meals that the filling remains intact; smooth any rough edges
With some care, you can manage a relatively normal diet with a temporary filling for the short duration until you can be properly treated by a dentist. Avoid putting excess pressure on the tooth and damaging the temporary repair.
How long do temporary fillings last?
The goal of a temporary filling is to provide relief for the period until you can be seen by a dentist. Most temporary materials last approximately 1-3 weeks but longevity depends on several factors:
- Location in the mouth – Fillings on front teeth wear faster than back teeth
- Chewing forces – Heavy biting and chewing shortens lifespan
- Material used – Dental wax 1-2 days vs composite 4-6 weeks
- Quality of placement – Deep fillings stay in better than shallow ones
- Oral environment – Dry mouth causes faster breakdown
- Diet – Hard or sticky foods can dislodge fillings easier
To maximize the duration of a temporary filling:
- Allow full hardening time before chewing
- Avoid very hot, cold, hard foods and chewing on that side
- Brush and floss gently around the temporary filling
- See a dentist ASAP for a permanent restoration
Call your dentist if the temporary filling falls out or you have increasing pain before your scheduled visit. Most temporary materials are meant to be replaced within 1-3 weeks.
Does a temporary filling relieve tooth pain?
A properly placed temporary filling can provide significant relief from toothache caused by a lost filling or cavity. Here’s how it helps relieve pain:
- Seals out debris, air, and fluids from entering the exposed nerve area
- Isolates the inner pulp tissue from temperature changes
- Stops pain signals from pressure on the fractured tooth
- Provides a protective coating over sensitized dentin
- Reinforces cracked tooth structure
- Restores occlusion so biting doesn’t impact the damaged area
- Contains antibacterial ingredients to prevent infection
- Inhibits movement of fractured segments
The numbing effect should begin shortly after placing the temporary filling material into the cavity. This allows you to comfortably eat, drink, brush teeth, and go about normal activities as you wait for your dental appointment.
However, if pain worsens or swelling develops, contact your dentist right away as you may need a root canal, tooth extraction, or antibiotics. Do not rely on a temporary fix long term without professional evaluation.
Professional filling options from a dentist
While a DIY temporary filling can provide short term relief, it is important to see a dentist promptly for a proper, permanent restoration. Professional options may include:
- Replacing the old filling with composite resin or amalgam
- Getting a crown if the tooth is fractured or has a very large cavity
- Root canal treatment if the nerve is infected or inflamed
- Extracting the tooth if severely damaged
- Dental implant to replace a missing tooth
- Onlay, inlay, or dental bonding procedures
The dentist will take x-rays to check for hidden decay and examine the tooth. They will remove any bacteria, shape the prepared cavity, and fill it with a durable material matched to natural tooth shade and contours. A permanent filling helps prevent future decay and restores full chewing function.
Is it safe to use temporary filling materials at home?
The FDA considers most temporary filling products like Cavit, IRM, and glass ionomer cement safe for short-term, at-home use. However, some care should be taken:
- Read and follow all label directions carefully
- Rinse out any material that contacts tongue or cheeks before hardening
- Avoid use if you have allergies to any ingredients
- Discontinue use and call your dentist if pain worsens or swelling develops
- Seek professional help as soon as possible after application
- Keep materials away from children and pets
While considered safe for the interim until you can see a dentist, temporary fillings are not meant to be a long-term solution. They should be replaced with a permanent restoration done under professional care whenever possible. Contact your dentist with any concerns.
Frequently Asked Questions
Is it safe to use chewing gum as a temporary filling?
No, chewing gum should never be used to fill a cavity. It does not harden adequately, bond to the tooth, or contain protective ingredients to fight decay. It can adhere to the cavity walls and cause pain upon removal. Stick to proper temporary filling products instead.
How soon after applying a temporary filling should you see a dentist?
You should schedule a dental appointment as soon as possible after placing a DIY temporary filling, ideally within a few days. Temporary fillings typically only last 1-2 weeks before dislodging and needing replacement. It is important to have the tooth properly evaluated and restored by a professional for optimal long-term health.
Can you put temporary filling material over an existing filling?
No, you should not apply temporary filling material over a permanent restoration. It will not bond properly and can end up trapping bacteria under the old filling, causing more decay. Have your dentist examine an existing filling that needs repair.
Is a temporary filling as durable as a permanent one?
No, a temporary filling is meant to be weaker by design and only last a few weeks. Permanent fillings like dental amalgam and composite resin bond tightly to the etched tooth structure, reinforce existing enamel, and can last many years. Temporary fillings are only intended as a short-term emergency patch until professional treatment.
How do you know if your temporary filling fell out?
Signs your temporary filling fell out include sudden sharp pains when eating or drinking hot/cold foods, discomfort when chewing, or increased sensitivity to sweets. You may also feel a hole with your tongue. Visually inspecting the area or feeling with dental floss can confirm if the filling is still intact. Contact your dentist promptly if it dislodges before your scheduled visit.